Jonathan Balog | 7 min read
Safeguard Your Privacy by Removing Home Photos from Real Estate Websites
In today’s digital age, online privacy is more than just a buzzword—it’s a necessity. Your home is your sanctuary, and there’s no reason to have its interior photos and details displayed on real estate websites like Realtor, Zillow, and Redfin if it’s not up for sale.
These details, while seemingly harmless, can be a goldmine for the wrong people, putting your privacy and home security at risk. If you’ve recently bought a home or simply want to reclaim your online privacy, you’re in the right place. In this guide, we’ll walk you through the steps to remove photos of your home from Zillow, Realtor.com, and Redfin.
Tip: Always consult your real estate agent before making any changes to your home’s online listings. They can guide you through the process and may be able to expedite it.
Understanding the Role of Multiple Listing Services (MLS)
When a home is listed for sale, the broker uploads crucial information about the property—photos, floor plans, and more—to a Multiple Listing Service (MLS). This centralized database is the starting point for distributing your home’s details to various online real estate platforms like Zillow, Realtor.com, and Redfin. Access to an MLS is restricted to licensed agents and brokers, who can make changes or remove listings.
Action Step: If you’re a buyer or seller, request your listing agent to close out your home’s listing on the MLS. While this won’t guarantee immediate removal from all platforms, it’s a crucial first step.
Beyond MLS: Taking Control of Your Home’s Online Presence
Even after your home’s information is removed from the MLS, it may still linger on publicly accessible real estate websites. While your listing agent can assist in removing these details, sometimes you may need to take the initiative. If you find that your agent is not acting promptly, you can take control by creating accounts on these platforms and claiming ownership of your home to make the necessary changes.
Tip: Keep a checklist of all the websites where your home’s information is listed. This will help you track your progress and ensure that no site is overlooked.
Disclaimer: We recommend that readers always consult the most up-to-date guidelines on each platform’s official website or support center, as the procedures for removing photos may change. For your reference, the information in this guide is current as of October 6, 2023. Please check each platform’s latest guidelines for the most accurate and current information.
Step-by-Step Guide: How to Remove Your Home Photos from Zillow
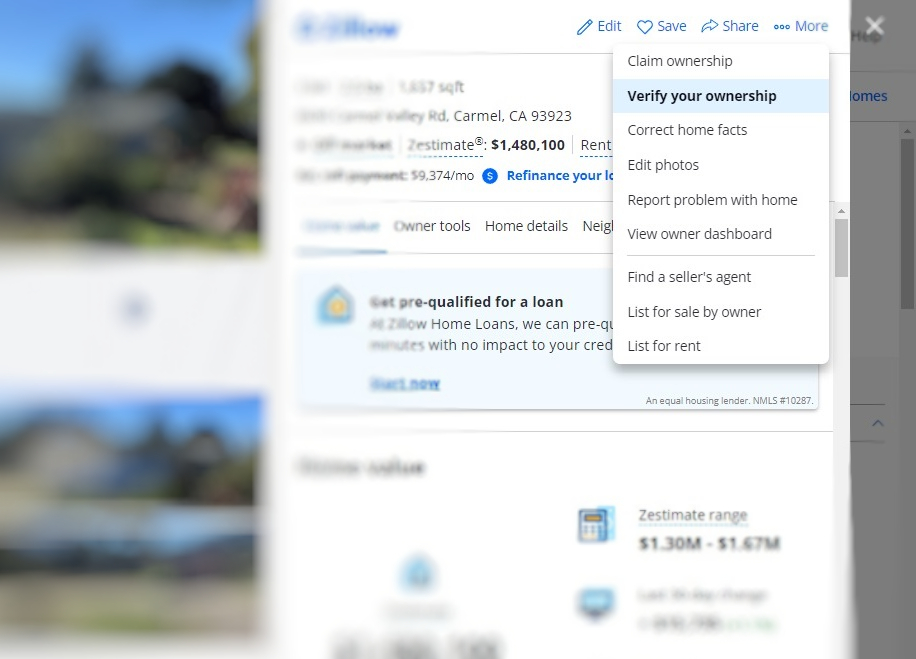
Removing your home’s photos from Zillow is a straightforward process, but it does require you to claim ownership of your property on the platform. Below is a step-by-step guide to help you navigate through the process. Note that we’ve included a screenshot to help you locate the “Verify your ownership” button on Zillow’s website.
Claiming Your Home on Zillow
- Log In: First, log into your Zillow profile at zillow.com.
- Search for Your Address: Use the search bar to find your property.
- Verify Ownership: Navigate to the “More” drop-down tab and click on the “Verify your ownership” button.
Tip: The “Verify your ownership” button is crucial for claiming your property. Make sure to have necessary documents handy, as Zillow may require proof of ownership.
Removing Photos from Zillow
- Access Photos: Once you’ve claimed your property, you’ll have the option to manage its photos.
- Remove Individual Photos: Click on each photo you wish to remove and then click “Remove Photo.”
- Save Changes: After removing all the photos, don’t forget to click “Save Changes” to finalize the process.
Action Step: If you encounter any issues while removing photos, you can submit a support ticket at Zillow’s help center: zillow.zendesk.com/hc/en-us/requests/new.

Verify your ownership on Zillow
Step-by-Step Guide: How to Remove Your Home Photos from Realtor.com
Navigating Realtor.com to remove your home’s photos is similar to the process on Zillow but with its own set of steps. Here’s a detailed guide to help you claim your home and remove its photos from Realtor.com.
Claiming Your Home on Realtor.com
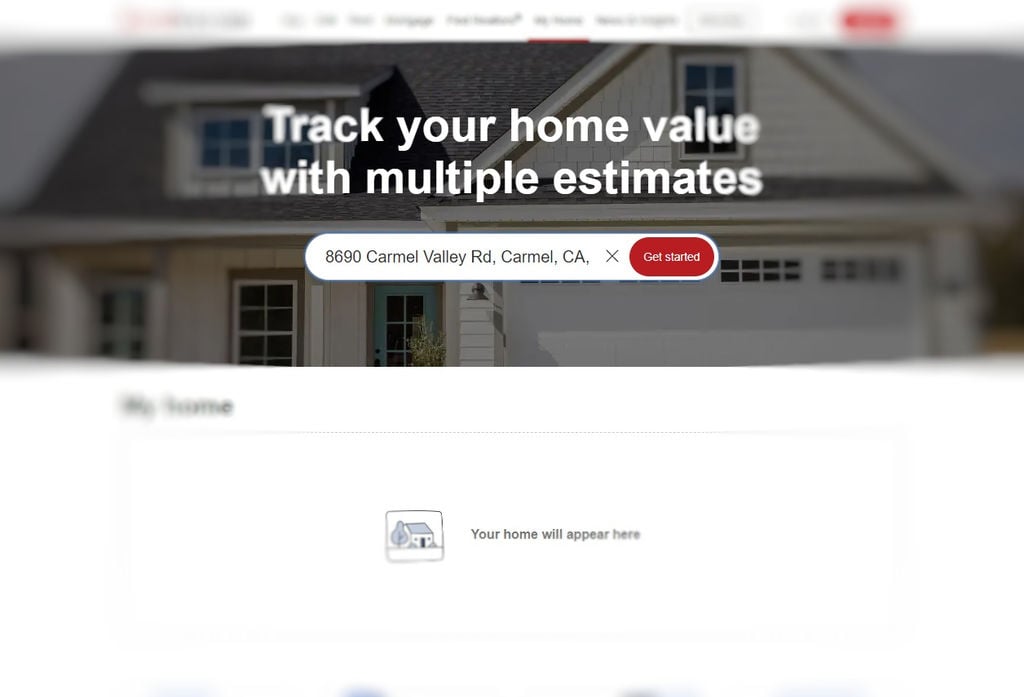
- Navigate to My Home: Open your web browser and go to realtor.com/myhome.
- Type in Your Address: Use the search bar to find your property.
- Start the Claiming Process: Click the “Get started” button to initiate the home claiming process.
Tip: Have your property documents ready, as Realtor.com may require you to verify your ownership.
Removing Photos from Your Realtor.com Dashboard
- Access the Owner Dashboard: Once you’ve claimed your property, navigate to the “My Home” tab on your owner dashboard.
- Remove Photos: From here, you can select and remove photos of your property.
- Seek Assistance if Needed: If you encounter any issues, you can reach out for support.
Action Step: If you need additional help, you can submit a support ticket through Realtor.com’s support page: support.realtor.com/s/contactsupport.

Claim your home on Realtor.com
Step-by-Step Guide: How to Remove Your Home Photos from Redfin
Redfin is another popular platform where your home’s photos might appear. The process for removing them is slightly different than on Zillow and Realtor.com. Here’s a step-by-step guide to help you claim your home on Redfin and remove its photos.
Claiming Your Home on Redfin
- Access the Owner Dashboard: Open your web browser and log into your Redfin account.
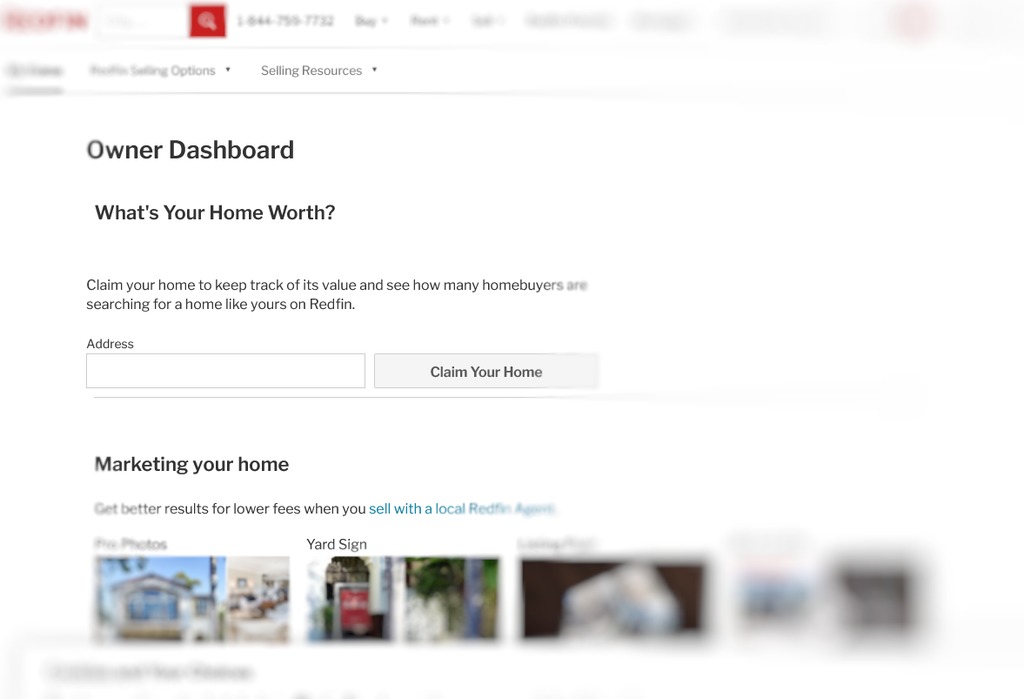
- Navigate to Owner Dashboard: Use the drop-down menu under your name in the top-right corner to go to your Owner Dashboard.
- Claim Your Home: From the dashboard, you can claim your home if you haven’t done so already.
Tip: Redfin may require verification to confirm you’re the owner. Keep any necessary documents at hand.
Removing Photos from Redfin
- Select Your Home: Once in the Owner Dashboard, click on your home’s listing.
- Edit Photos: Navigate to the “Edit Photos” option.
- Hide Listing Photos: Click on “Hide listing photos” and confirm by clicking “Yes, Hide Photos” when prompted.
Action Step: If you run into any difficulties, Redfin’s customer support is available to assist you. However, most changes can be easily made from the Owner Dashboard.

Claim your home on Redfin
How to Remove Your Home Photos from Trulia
If you’re wondering how to remove your home’s photos from Trulia, you’ll be pleased to know that it’s a simpler process than you might think. Trulia is a partner site of Zillow, so any changes you make on Zillow will automatically reflect on Trulia.
Tip: Since Trulia is linked to Zillow, ensure that you’ve successfully removed your home’s photos from Zillow to see the changes on Trulia.
Take Control of Your Online Privacy
In a world where online privacy is becoming increasingly important, taking control of your home’s digital footprint is essential. Whether it’s Zillow, Realtor.com, Redfin, or Trulia, you have the power to remove your home’s photos and protect your privacy. You can either consult your listing agent to close out the MLS listing or claim ownership and make the changes yourself.
Action Step: Start by making a list of all the real estate platforms where your home is listed. Follow the steps outlined in this guide to remove your home’s photos and secure your online privacy.


